3/4/18-6/4/18
Our Snow Hole trip took place in Berdalsbu which is about 4 hours from Kristiansand. This trip was mainly about practising Avalanche testing techniques as well learning how to dig Snow shelters to live in and dig emergency shelters in case it is ever required. There was also a focus on winter navigation as many of us had not done a whole lot of this before. Len’s ankle was still not fully recovered so he was unable to come on the trip. This meant Tim took us, along with one of his employees at Troll Aktiv named Sindre.
Summary of the week
When we arrived at Berdalsbu on tuesday we all grabbed our kit and headed off towards the DNT huts for that night. It was approximately a 7 kilometre ski however it was very windy and visibility was quite low therefore slowing us down. However, these conditions allowed us to practise navigating techniques such as taking a bearing of a tree ahead of you and then picking another landmark once you reach the first (and so on). The last hill before the hut was a good test for most of the group. The snow was loose and it was easy to get your skis stuck in it but everyone made it up well enough. We then spilt into 2 groups at the huts as we could not all fit in one and then set about collecting and melting snow for cooking and drinking. Tim spent a lot of time standing on the couch with this phone to the roof trying to get reception (the youth of today). Tim also couldn’t help cracking jokes about the Australian cricket team and the ball tampering incident that had occurred a week earlier.
Wednesday morning Tim and Sindre instructed us to tidy up the huts and explained you should always leave them better then how you found them in case other people come in that day. Once we cleaned it out and left we headed out looking for a suitable area to snow hole in. Tim explained we needed to find an area that was a relatively acute angle in the side of a hill and that we had to test with the Avalanche probes that there was at least 2 metres of snow in the hill before hitting dirt or rock. Before the trip we had organised ourselves into groups of 4 and these would be our snow hole groups for sleeping, digging as well as cooking. In all it took roughly 5 ½ hours to construct something good enough to sleep in. I will explain in more depth and the techniques used in the next section.
Waking up Thursday morning Aaron, Sarah, Laura and I found we were incredibly warm thanks to the construction of our hole. It was much warmer than a tent by far. Being completely out of the wind makes a huge difference. Aaron and I had dug a small bench to cook on as well so this created a considerable amount of heat in the hole too. This day we broke into our 2 groups again and half went with Sindre and half with Tim. The group I was in went with Tim and we went and did some Avalanche testing. This was quite interesting to see and do. We then ski’d down to the hut again to meet Sindre’s group. This was really fun as we could all practise our telemark turning. But there were so many of us skiing through the trees you had to keep checking for people around you. Tim also complained to Aussie Tom because he had crashed and ‘ruined’ the snow that Tim wanted to ski on! As the weather was not that favourable Tim instructed us to create a small skills park to ski on to practise different techniques rather than go touring around the nearby peaks. We created a slalom course, a bumps track aimed to encourage bending of the knees to absorb the shock and also 2 jumps to get us feeling more controlled in the air. This was good fun trying out all the different courses. Aussie Tom absolutely ‘sent it’ off the big jump while we were all watching and landed badly with a bloody nose. Luckily, he got up and was fine but it was pretty funny.
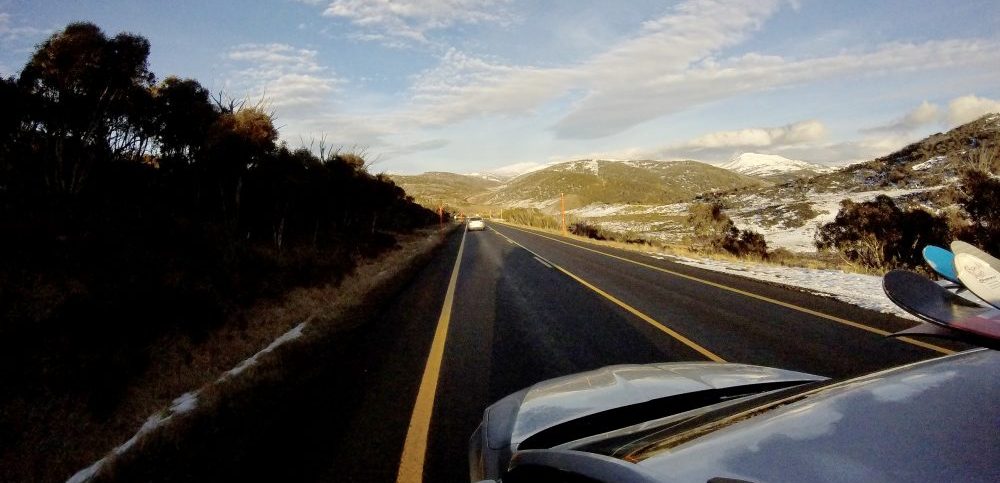
Lastly on Friday after closing in our snow holes and filling in the holes we left Berdalsbu and headed back to the van to head home. We got very lucky with the weather this day as it was sunny and clear skies.
Snow hole construction and techniques
For the snow hole, you should begin by digging your entrance but keeping it quite skinny to make it easier to close over at night. Once you’ve dug almost 2 metres in you can begin looking to create the sleeping surface. Naturally the entrance you’ve made becomes the cold air trench which keeps all the cold air down resulting in a warmer sleeping area. The best way to dig in is to use snow saws and cut big blocks because you can then use these later for the door. To begin the sleeping platform, you use a pattern technique whilst maintain a rounded roof. This is important because if your roof is flat across it will begin to sink in each night. It is also advisable to smooth the roof as much as possible to eliminate the chances of drips or icicles on the roof. Once completed candles should be lit whilst sleeping because they are a practical measure of oxygen levels in the hole.
Skiing and Avalanche practise
Digging straight down to dirt or grass then digging back into the hill on either side of your test block. You can then walk on your skis on top of this and do a small hop. This should cause the loose layer to fall away indicating where the avalanche prone layer is in the snow. You can also run a knife down your block to feel where the loose layers are. Alternatively, you can take some string and form a ‘V’ shape with it and then slowly pull it down through section you are testing. You can then feel which layers fall away easier than others.
Conclusion
Overall the trip was really enjoyable and the whole class really enjoyed sleeping in the snow holes as it was a new experience for the majority of us. The weather also was relatively kind to us which made it more fun as well.