
Where and When
The Mountain Safety field trip took place from the 1st April til 3rd April 2014 in the area around Berdalsbu at 1000 above sea level (http://ut.no/hytte/berdalsbu).
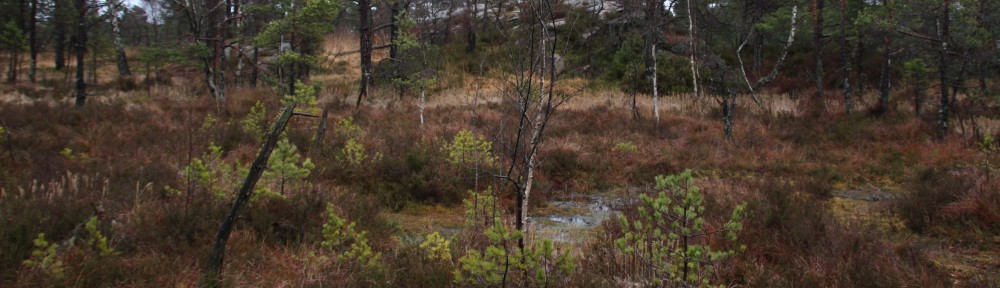
It was a snow-covered mountain area. We built the snowholes just underneath the tree-level. What we could see of the flora was just the upper parts of the trees. It was a lot of birch trees and occasionally some pine trees. The Fauna was also very absent, although we saw a lot of tracks from moose and reindeer.
Even though the area is very close to civilization (only 6km from Berdalen at Rv 9), it was very distant, remote and rough.
Some questions
- Did you achieve the goals for the trip, if not, explain ?
My main goals for this trip were:
- built a snowhole
- do some more skiing and winter-navigation
- learn something about the things you have to consider when leading a group in the winter mountains.
I achieved all this three main goals.
- What were your main challenges working in a winter environment ?
For me the hardest was to keep myself warm in the evening, when the sun went down and we were cooking and didn´t move a lot. The second challenge was to keep the gas-bottles warm and prevent them from freezing when cooking.
- What are the most important learning outcomes regarding the equipment you used on this trip ?
I would not use gas to cook for five people in the snow, but rather a benzin-cooker if you have to melt the snow, it takes a very long time with the gas. “They are less suitable fo winter use because of the reduction of gas pressure at low temperatures (below 0°C) …” (Langmuir 2013, p. 95).
When digging a snowhole you have to wear waterproof trousers and jacket that are really waterproof because it takes so long and you sit in the snow or wait while somebody else is digging – otherwise you will be wet and really cold.
- Nutrition, what did you eat, how did prepare your food, could you improve on your menu ?
In the morning I had oatmeal and hot chocolate. During the day I ate bread with cheese and some cookies and in the evening we made Pasta with sauce and rice with sauce. It was both really good.
I found out, that when you stay in the snowholes and ski during the day, there are two easy principles regarding food: it has to be enough and and it has to be warm. If you want to do the maths, you have to make sure, that you meet the basic requirements for carbohydrates, fat and proteins. Out in the winter (and in general) carbohydrates should provide about 50-60% percent of our daily energy intake. An average person that stays out in the cold all day and night and does a lot of work (skiing, digging) you can estimate up to 4000 kcal per day as energy requirement. Since none of our group went to bed not totally full, I think, our cooking provided enough energy for everybody.
- What kind of shelter did you use, how did it function ?
We slept in a snowhole and it functioned perfectly – it wasn´t really cold, it was dry and comfortable. Only the ones with claustrophonia didn´t get a lot of sleep, becausefor them the snowhole wasn´t perfect at all. You should take that into consideration when you take a group out to sleep in snowholes. As a leader you might need to camp outside together with them.
- Skiing with a heavy pack is challenging, how did you cope ?


For me it was easy because I had a lot of practice from two four-day-trips with backpack. On this trips I already learned, that I have to be more conscious and choose my path more carefully with the backpack – especially on downhill sections.
How to dig a snowhole
First of all: Find a good place! Requirements: Snow is deep (about three meters) and compact enough so it will not collapse when digging. The place isn´t in a hillside that is avalanche-dangered (sun-exposure, lee-side with lots of snow)
Digg an entrance as high and wide as the tallest of the group (makes digging inside easier). Continue this entrance tunnel until it has the length in meters of the number of persons you are (if more than three, divide it by two, because then you need two sleeping chambers) plus about one meter (depending on the snow-conditions). E.g: for four person you should make the tunnel about 3m long.
Then you can start digging sideways from this tunnel to form the sleeping chambers. You dig those from hip-height-level (make them high enough so that everybody can sit upright, you´re back will say thank you).

- Sleep with your head in direction of the middle tunnel (because this will be the place, where fresh air flows in)
- The tunnel has to be lower than the sleeping chambers so that the cold air will stay down there.
- Flatten all walls neatly so that there are no spots that can start dripping when it gets a little warm.
- If you want to sleep in it longer than one night, you need to check your snowhole every evening. It could be the case, that the sun-exposure has made the walls unstable. If you find some dripping spots, flatten them out.
- Put a tarp under your sleeping mattress. You can also use that tarp in the digging process to transport snow out of the hole.
- Start digging early enough – depending on the snow-conditions the whole digging can take up to 4 hours. “It takes approximately one hour per person sheltered to build …” (Langmuir 2013, p. 412)
- To accelerate the digging you can also start to dig sideways, before you have finished the middle tunnel – so that more people can fit in the hole and dig at the same time.
- Never leave anything outside overnight – it might start snowing then you won´t find your stuff.
- Make a “basecamp” if the weather is nice, to cook and sit together.
How to measure the steepness of a hill:
You only need two skiing poles to measure the angle of a hillside. To know this angle is really important to assess the risk of avalanches, since “avalanches occur most frequently on slopes between 30 and 45 degrees.” (Langmuir 2013, p.378).
Mark the length of one pole in the hillside. Stick one pole in the snow at the upper end of the marking, let the other one hang from the end of this pole (that will make this pole perpendicular to the flat ground). If it hits the end of the marked pole, the hill is 30°. For every 10 cm downhill or uphill from this point, you have to add or subtract 3 degrees.
As a rough rule: a hillside will be about 30° as soon as you have to start zig-zagging on your way up. If you are out skiing and the avalanche danger is at level 3, you should avoid all hillsides steeper than 30° (at level four it is 25° and at level 5 you should not at all be skiing).
How to build an emergency snow-shelter
If you are on a skiing trip and the weather changes dramatically without any change for you to continue further to reach a hut or civilized area, and you didn´t bring a group shelter with you, you have to think early enough about building a snow shelter – because if you fight the storm only until you realize that you are too exhausted to continue, you will have a hard time digging in the storm as well. So start, when you still have enough strength.
First find a good spot – a drift in the down-wind side is perfect. Check the snow-depth first, you need about two meters horizontally.
Then the whole group takes their shovels, standing shoulder to shoulder in front of the drift and everybody starts digging. Remember to not leave your stuff somewhere, because in a heavy storm, it might be snowed over when you´re finished digging. The best thing is to put all belongings on one sport and mark it with skis or poles sticked vertically into the snow. Always stick your skis and poles vertically!
The aim is to dig a long snow-bench, where everybody can sit on next to each other. The picture shows a cross-section of the bench.
When you are finished digging (it takes about 30-50 minutes) you take all the skis and stick them in next to each other to close the frontside. See red line in the picture. Then you make blocks and fill out the spaces between the skis with it, so that you have solid barrier between the storm and you. Leave a small entrance at one end of the bench – just big enough so that people can go in.
When finished go inside, sit down close to each other and wait until the storm is over. If you have a mattress, take it to sit on. If everybody has a mattress, take it vertically behind your back that it covers you from the toes up to the head.
Learning Outcomes
I have learned how to build a snowhole and an emergency snow-shelter for a big group.
I have also been reminded of some important principles for leading a group if more than one person is leading: discuss the route before you leave and assign different responsibilities to each member of the leading group (e.g. one person goes in front, on in the back, one double-checks the navigation, …) Make clear what every person on each position has to do. And stay in your position. Always talk to each other and the group. Before leaving or starting after a break, check if everybody is ready. Always check, if somebody needs a break. Keep the group together.
Sources
Langmuir, E. (2013). Mountaincraft and Leadership. Mountain Training England and Maountain Training Scotland.